
How to Add Allowed Email Addresses
To forward emails and attachments to your case, you need to authorize sender email addresses. Only emails from allowed addresses will be processed and added to your Case Knowledge Base.
Add an allowed email address
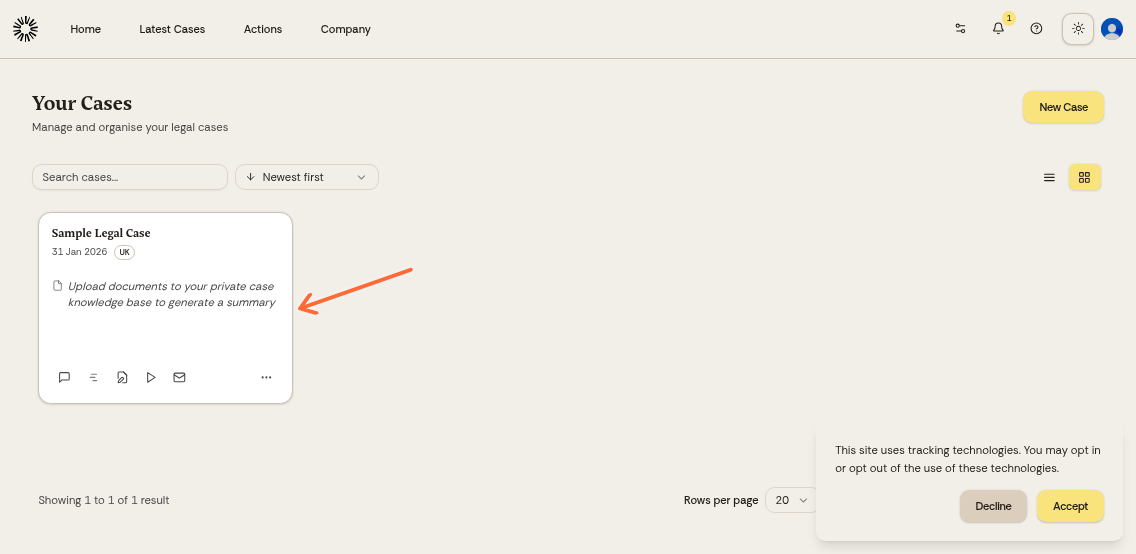
Open your case from the cases dashboard:
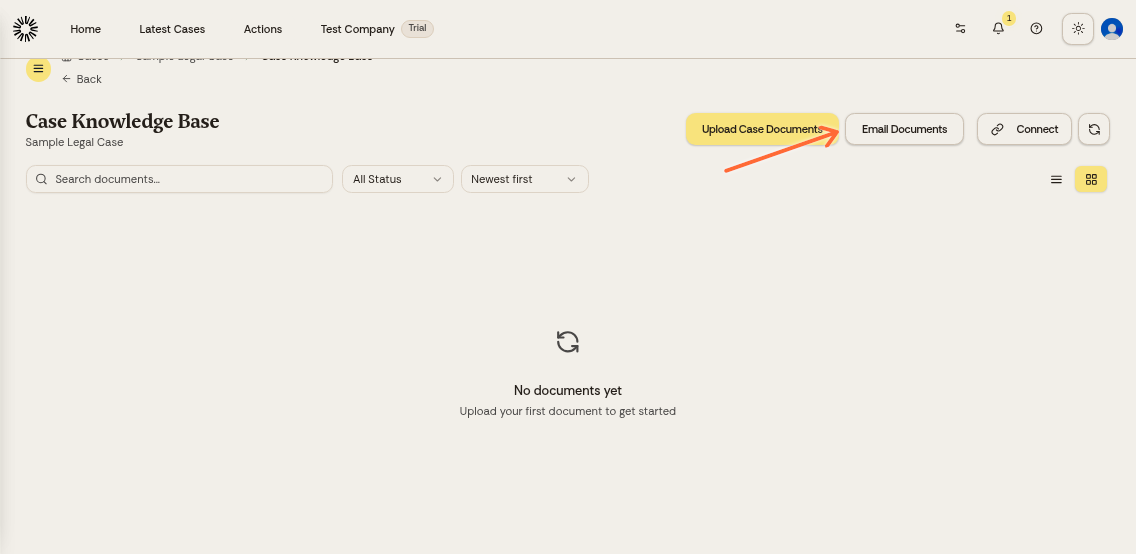
In the Case Knowledge Base section, click Email Documents:
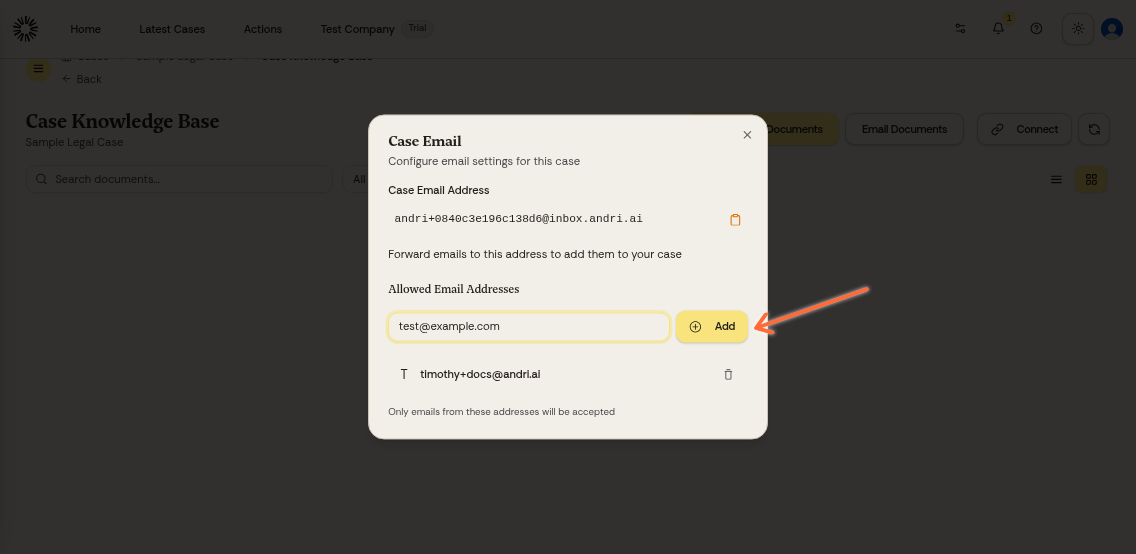
The modal shows your unique case email address. Under Allowed Email Addresses, enter the email address you want to authorize and click Add:
The email address now appears in your allowed list. Add as many addresses as needed:
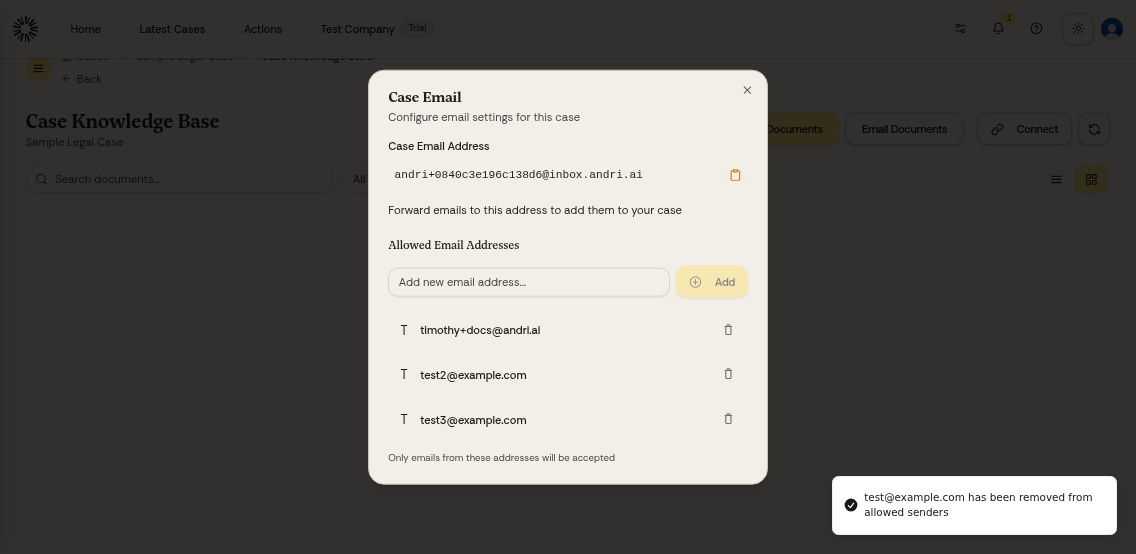
To remove an email address, click the trash icon next to it.
Using your case email
Once you've added allowed addresses, anyone on that list can forward emails to your unique case email. The email content and attachments will automatically be added to the Case Knowledge Base.
Learn more about emailing files to your case.